Painting lesson
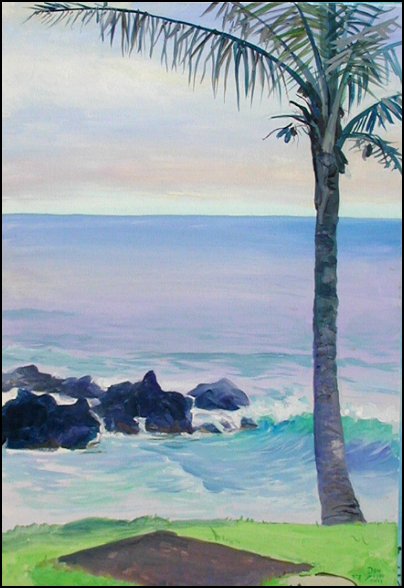
The first paint down are blends representing the sky to the horizon line
and from the foreground to the horrizon line.
The waves or clouds are just painted on top of these primary blends.
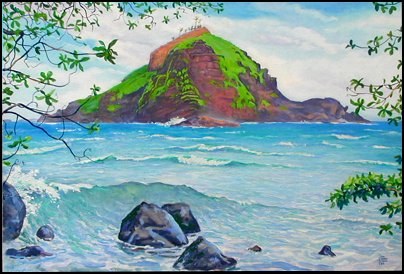
See where it's a lighter color behind the wave, as opposed to
seeing an object on land where the object behind is darker.
So, first paint in the local color from the horizon to the foreground,
change it as you see the flat surface of reflected color change.
In acrylics, let it dry, in watercolor keep painting.
Make your strokes on the flow line grid to show movement.
In acrylics, it's nice to draw in your action lines,
flow lines and the wave itself with white chalk.
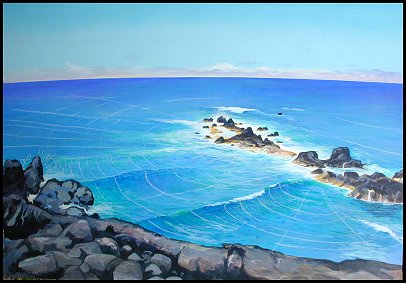
These are the chalk lines drawn in as an example for you, after the waves were painted in.
The lines were actually drawn in while the surface of the
water was only a blended undercoat waiting for the waves.

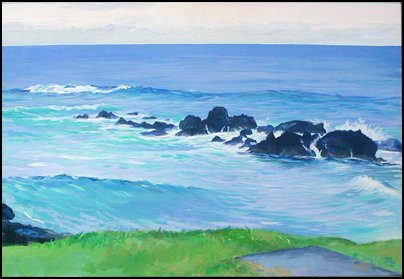
It's easy to see the flat blended local color of the surface on the
water in this painting
Notice this difference, on objects, it's darker behind the object in
front.
On water, it's lighter in the area behind the shape (wave).
That's because the angle of reflection is more angled to the zenith.
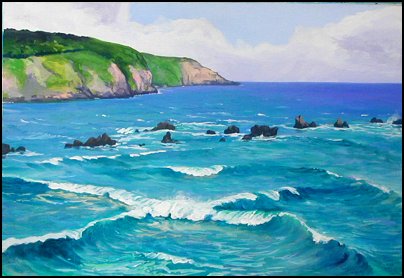
Waves coming from three directions at the same time! I couldn't believe
it and didn't think I could paint it. :)
Can you see the underlying local color on the flat surface? It blends
from the horizon line to the foreground.
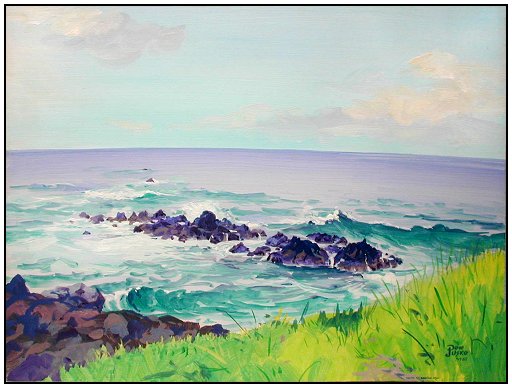
Now that you know what you are looking for, look at this flat surface
under paint.
I don't think the wave sections took more than 10 minutes. 11x15 acrylic
panel.
Notice the curved horizon line, the higher you are, the more curve you see.
PREVIOUS Waves, waves.htm
Order this complete thesis on DVD, $35.00.
Order only a 5"X5" Laminated Real Color Wheel $10.00.