|
Author: Phyllis Franklin, Contributing Editor Making soft pastels is a time-consuming messy job but well worth all the trouble when you are successful making that one special color that you have not been able to find anywhere else. You can create your own custom pastel sizes that fit your hand and the techniques you like to use. Not only that, you learn a great deal about color during the process and can make them cheaper than buying commercial pastel crayons. Another advantage of being able to make pastels is that you can make your pastels as soft or as hard as you would like them to be. Commercial pastels have to be made hard enough to withstand breakage during shipment. Because you do not have to concern yourself with shipping you can make softer pastels which are more yielding and do not dig into the under-layers as much as the harder pastels do. The paint quality will be richer, and the colors more intense. The softer the pastel, the easier it is to make thick layers of color. Light colors can be applied with real impasto effects, which are especially brilliant with soft pastels. Knowing what goes into your pastels is another advantage. You can be the quality control technician. Use the best ingredients available, and only proven permanent pigments, safe binder, and preservatives to prevent mold. Keep your supplies and tools clean to prevent trash contamination. Gather your supplies and let's begin.
Making soft pastels is a time-consuming messy job but well worth all the trouble when you are successful making that one special color that you have not been able to find anywhere else. You can create your own custom pastel sizes that fit your hand and the techniques you like to use. Not only that, you learn a great deal about color during the process and can make them cheaper than buying commercial pastel crayons. Another advantage of being able to make pastels is that you can make your pastels as soft or as hard as you would like them to be. Commercial pastels have to be made hard enough to withstand breakage during shipment. Because you do not have to concern yourself with shipping you can make softer pastels which are more yielding and do not dig into the under-layers as much as the harder pastels do. The paint quality will be richer, and the colors more intense. The softer the pastel, the easier it is to make thick layers of color. Light colors can be applied with real impasto effects, which are especially brilliant with soft pastels. Knowing what goes into your pastels is another advantage. You can be the quality control technician. Use the best ingredients available, and only proven permanent pigments, safe binder, and preservatives to prevent mold. Keep your supplies and tools clean to prevent trash contamination.
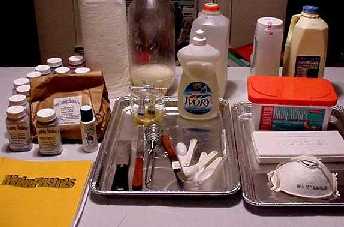
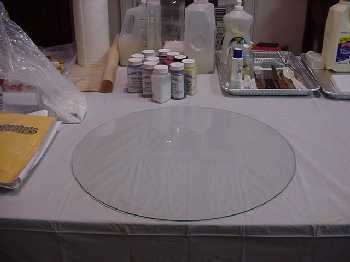
1. Old Clothes to wear, plastic table cloth
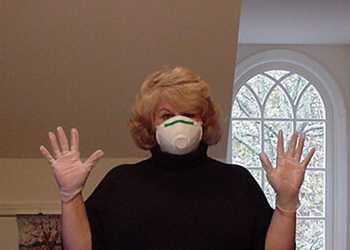
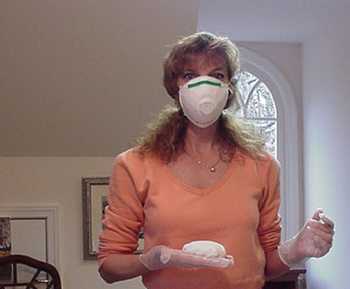
Safety First! Don't forget to wear your gloves and mask.
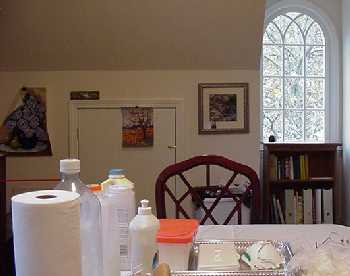
Good lighting helps.
To begin you will need supplies to make a binding solution. Gum tragacanth is the most acceptable and widely used binder. It is a dry powder that is derived from various species of the astragalus shrub, a plant found throughout Asia. Because this binder is susceptible to mildew,you will need a preservative solution to put in your binder. For this workshop, we used gum tragacanth with preservative premixed by Terry Ludwig which was a great deal easier. All supplies can be ordered by contacting Terry Ludwig at http://www.makepastels.com or from most large art supply houses such as Dick Blick or Senopia. Because each pigment has unique properties that react differently, the first step is to make binding solutions in different strengths to accommodate these differences. If you don't use supplies from Terry, use the scratch formulas below. From Scratch Formulas: Preservative Solution
Solution A
Solution B
Solution C
Solution D
Solution E
Directions:
The strength of the binding solution is what determines the softness of the pastel. Here are a few general guidelines for using the solutions. Solution A: Cadmium red, cadmium yellow, cadmium orange, alizarin
crimson
Six steps to success:
Start by grinding
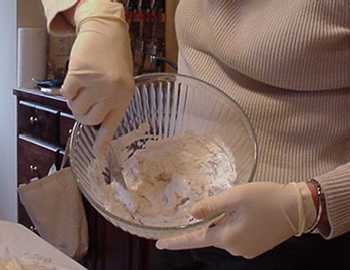
Use a bowl or a flat non porous surface like glass to mix these ingredients. Mix chalk and pigment dry before adding solution C. Adjust the mixture with solution C or chalk to form a paste that is the consistency of play dough. Set this mixture aside. Some will be used as pure white pastel sticks and some used as paste to make color graduations with other pigments. Deb would like to remind you to think safety first when working with
pigments.
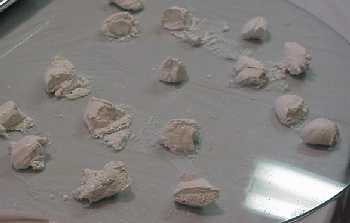
Divide the dough ball into smaller pieces and set aside about two thirds
of the pieces to be used as white paste stock.
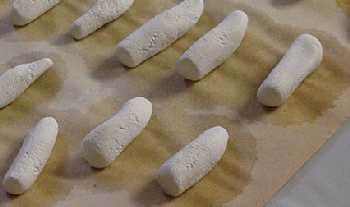
Take the other third and shape the dough into pastel sticks.
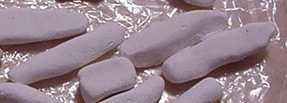
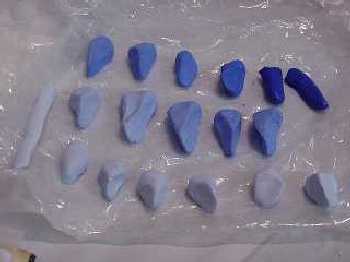
Lay the white pastel sticks you have made on news print for an hour
or two so that the newsprint can absorb excess moisture and then transfer
to plastic wrap that has been wrinkled. The plastic wrap will keep
the pigments from cracking as they dry completely. The pastel sticks should
be ready to use within the next day or two.
Keep notes and you will become an expert.
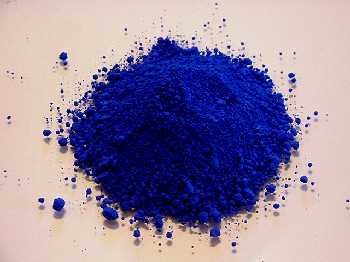
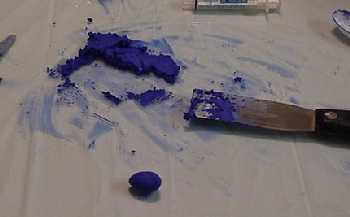
Measure out the pigment to be used. In this example we are using 2 oz
of Ultramarine Blue.
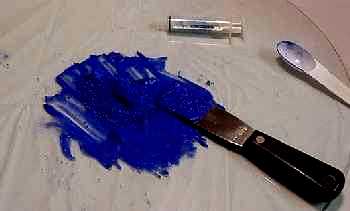
Add a sufficient amount of Solution C. Keep adding the binding
solution C by teaspoons until the paste is of the consistency that is dry
enough to keep it from adhering to the fingers. Use your putty knife
to grind the paste into a smooth cake and then slice the cake into portions
to be used as Ultramarine blue pastel sticks and then some to be used
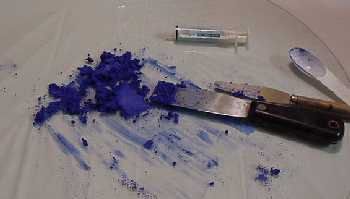
Use the putty knife to grind the pigment into the paste. Finally, the
mixture becomes a paste that can be formed into a pastel stick.
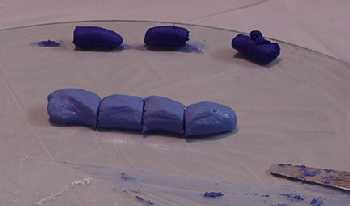
Roll the paste into a manageable size and make your pastel in the shape
and size you would like.
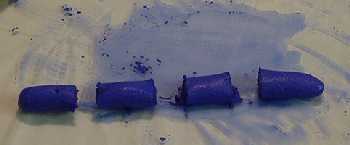
Here I just made a long rope of the pastel paste and cut it into four
pieces.
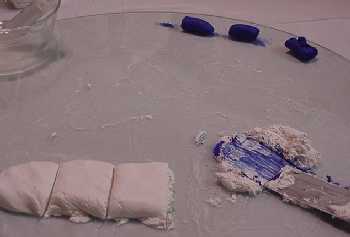
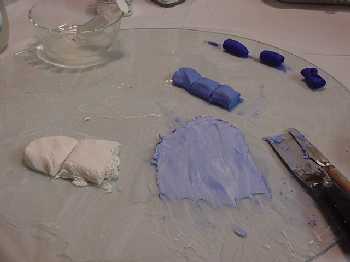
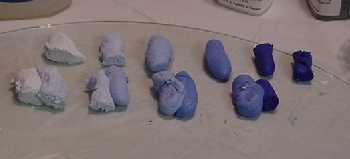
Taking one of the four pieces of my final pastel roll, I
begin to mix another custom color by adding white paste.
Continue to grind and mold the paste until you get the mixture completely
smooth.
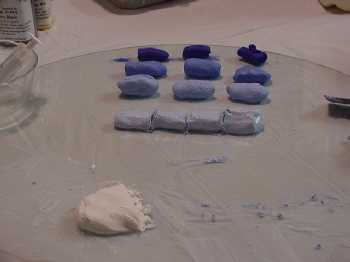
Now roll your new custom color into a long pastel log and cut into four
pieces.
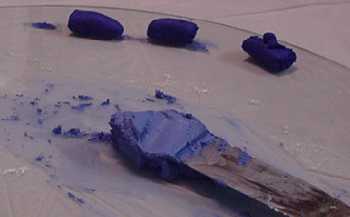
Use the putty knife again to smooth the mix and form your new custom
pastel color log.
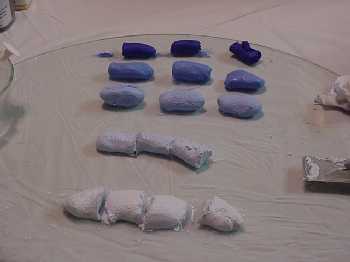
Once again, roll your new custom color into a log and reserve three
of the pieces. Take one piece and add it to the last premix
white paste.
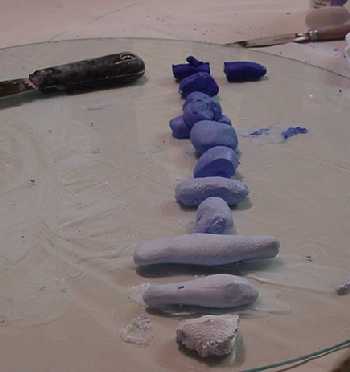
Of course, this is using one pigment color and then using white to make tints. You can and should use color pigments to grade your custom colors as
well. By mixing different pigments together you can make different shades
to work with and then create tints from your new custom shades.
To take the mixture further with more tints, just mix your custom colors
with the next darkest or lighest tint and make an in-between custom color.
Store your new custom pastels in boxes that are lined with foam, or
use premade boxes that you can buy from art supply houses.
Photograph is of finished pastels made in various shapes for various
techniques. I tend to like the triangle shape that I have learned
to make. It gives me edges that I like and also fits in my
fingers well.
NEXT Fresco painting on location PREVIOUS Pastel Painting on Location
 This color thesis on DVD, $35.00. 5"X5" Laminated Real Color Wheel $10.00

|