|
Homemade Acrylic Box
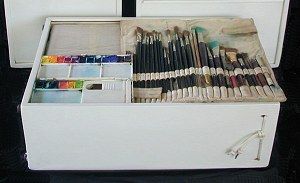
The top nine drawers contain brushes, enough to do any size painting including a mural. The empty slot holds two palettes, with a flip of the wrist they open or close. Embedded on the lid is a cloth to hold moisture, the individual palettes are removable styrene sheets. Than comes catch all drawer and another removable brush box with a lid.
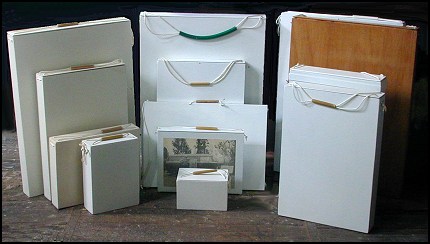
I have had that "Carrying Acrylic Box" for more then 15 years now and I still use it. A coat of white paint once a year
I started with standing with my arm at my side to measure how much room I had in inches. A two inch walking space below the box would be good. I measured only a 1" space to the ground. But I didn't figure on walking up hills or stairs so I have to be careful.
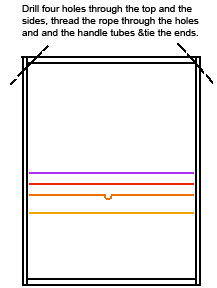
The 1/8" thick nylon rope threads through a 5" hand holding hose or plastic tube. This handle is 2.5" above the box. Make a fist at your side, measure to the floor, subtract 2" for walking space and 2.5" for the handle height, that's how long your box will be.
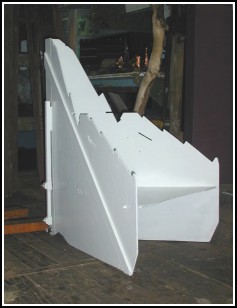
Two sides, a top and bottom, all made of a good grade of 1/2" plywood. The top leaves room for a slide-in-a-grove cover made of 1/8th inch plywood, the back side of the cover is painted flat black as a background to shoot paintings on.
The depth of the box is 6".
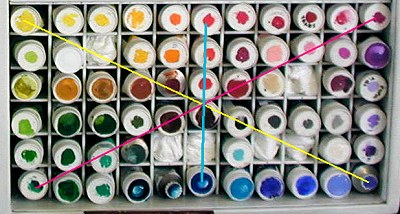
Inside this large outside box sits a 2" high, 1/4 inch plywood 5 sided article box without a top that sits on top of an 1/8 platform board which is sitting on top of the 1/8" plywood grid of 5 shelves and 10 standing supports making 66 spaces.
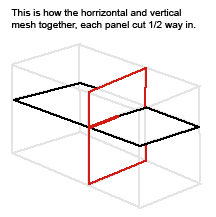
The grid has an open top, sides and bottom and just fits inside the outer box. Each of the 11 horizontal and 6 vertical tube holding space measures 1.25x1.5 inside. Paint them before assembling it. Cut all the shelves or supports all at once with an 1/8" blade set and mesh the horizontal and vertical together, you don't need glue. Set the platform and box on top.
Next is the 1/8" plywood brush box with a canvas hinge on the lid. This box is for the brushes I prefer to use all the time. It is one inch high. Inside along the bottom is a 1/2 inch high set of sides to support another 5 sided box shelf for the smaller brushes. Both the bottom area and top shelf box have two long divisional spacer bars.
The 1/4" back is glued, stainless steel stapled and screwed on. The front has two slide in 1/8 panels. The bottom panel reaches to the top of the paints. The top cover panel has a lip covering the opening between the front cover panels, so rain doesn't get in when it's closed. The big box has two vertical 1/8" blade cuts 1/4" in from the front for the panel covers to slide into. Don't paint the inside of the panel cuts or the section of the panel that will fit into the panel cuts. Wax them after the panel is painted.
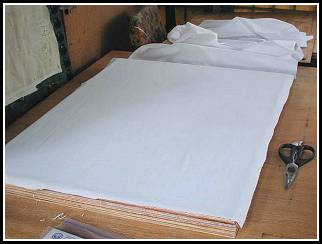
On top of the brush box are two flip-top lidded, canvas hinged, 1" high palette boxes also made of 1/8" plywood. I used yellow PVA wood glue dried on each side and a third wet coat to join them. Today I would probably use super glue. On the top of the lid I mounted thin plexie glass or better.. thin styrene. This is my wet palette on top. I start with jar white only on the wet palette. Pick up the color I want from in the palette box and carry it to the top. Don't forget an occasional spray inside to keep the paints moist for over a week of everyday painting. The brush box and a palette come out for every painting.
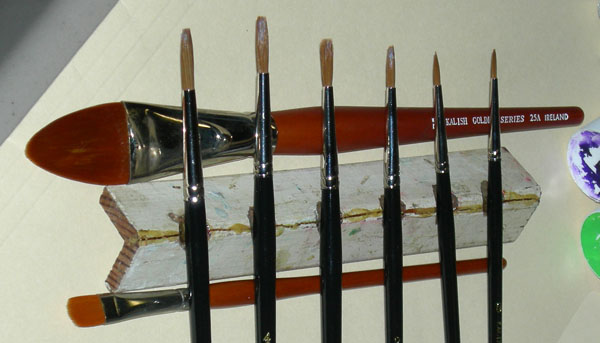
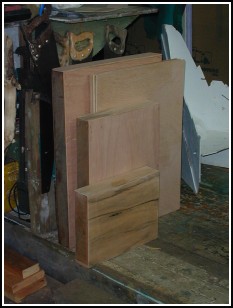
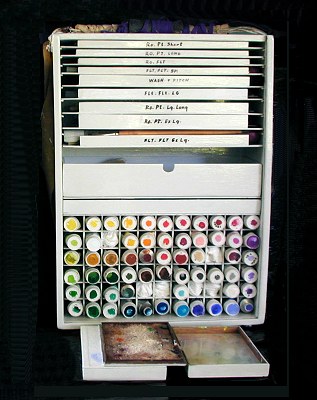
Next, filling the rest of the top area, are nine sized shelves from 1.25 to .50 inches high for speciality brushes. These shelves set on 1/4 inch runners attached to the inside of the big box. There is one side only on these shelves, in the front so brushes can't fall out.
There is also a 2" shoulder strap from an old seat belt that's just long enough so while it's on my shoulder my forearm fits under the handle so I get support in two places.
I carry 60 colors all the time, for the normal palette setup colors click here. |