|
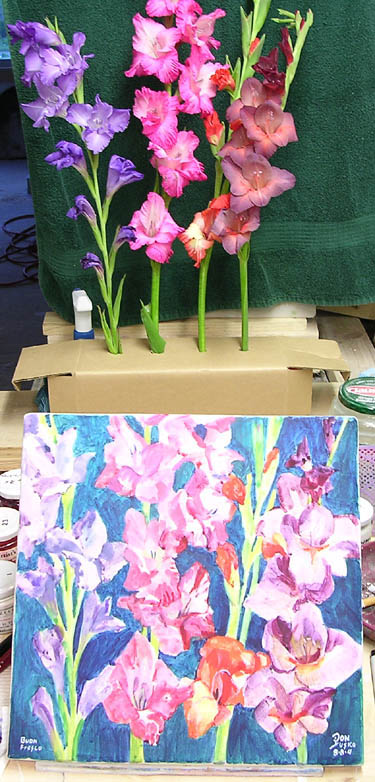
Aug. 7th, 2004
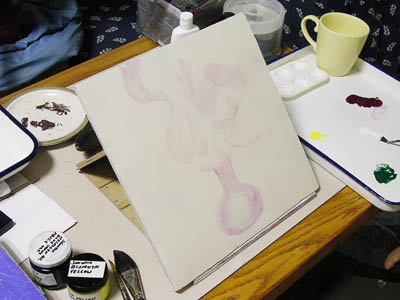
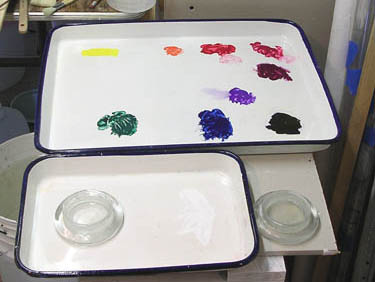
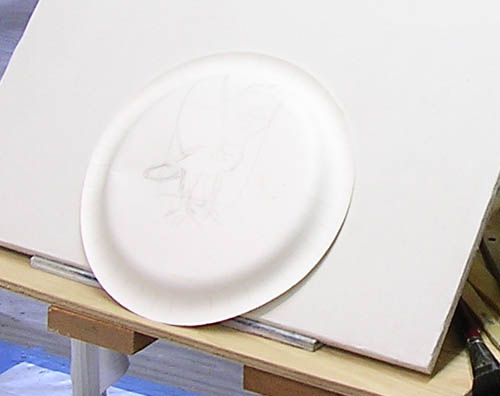 Everything is painted with a 1" synthetic squirrel hair flat ferrule, oval end mop. The first wash and drawing was painted with caput mortum. 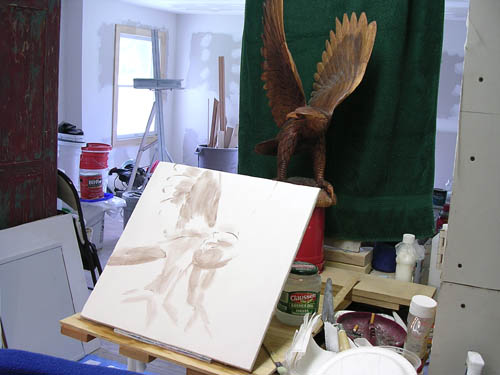 Here are the two palettes I'm using. One is loaded with only the wood color oxides, yellow ocher, light gold ocher, Italian warm ocher, Hercolano red, burnt umber, The second palette is the main one. Cadmium yellow light, cadmium yellow, cadmium orange, D.S. permanent red, Sinopia ult blue, thalo blue, quin violet, viridian. It's fun to have all these colors after doing the big wall mural with three colors plus brown. 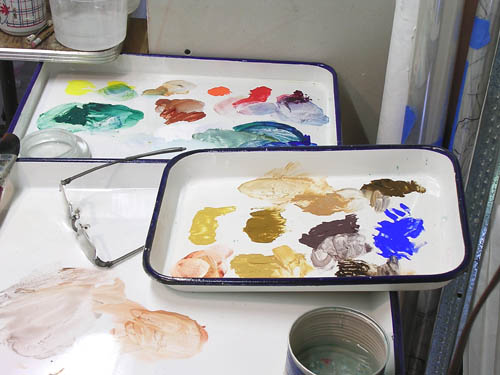 2:20, big washes all over, moving fast. 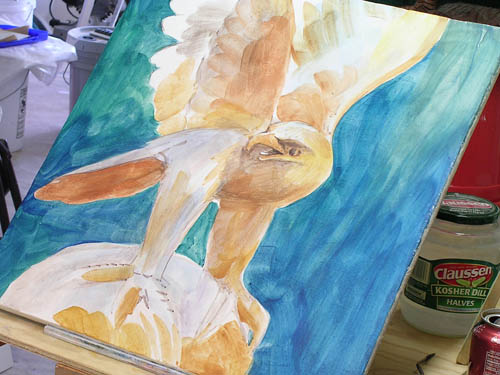 3:20, I'm heading to 100% coverage. 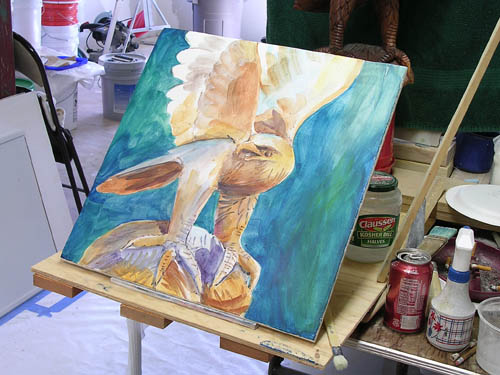 3:50, 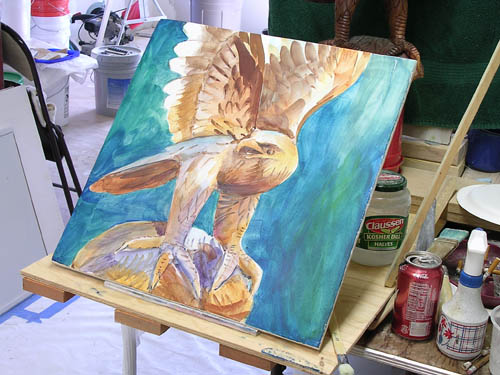 5:30, Hercolano red is a great pigment, it's a red oxide. 
|
12"x12", Aug. 8th, 2004
|
The first and second coats on this tile were done at the same time as the layers on the wall mural. It went like this. First layer, 3 parts lime = 66%, 2 parts white cement = 33%. That is a total of 5 parts.
Than 5 parts of large sand and 5 parts medium sand were added, that is a total of 10 parts. That's a 1:2 mortar with a 2:3 cement to lime. It took 2 hours to lay a 2.5x7 foot section of Rough or Trullisatio coat on the wall mural.
It took an hour and a half to put this intonaco on the 12"x12" tile.
Now I'll trowel on the intonaco, lime 1, small white sand 1.
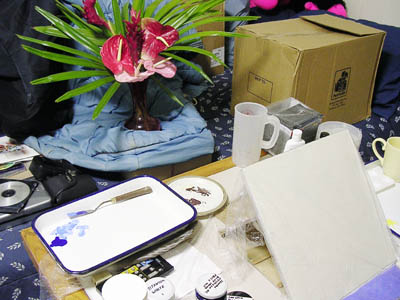
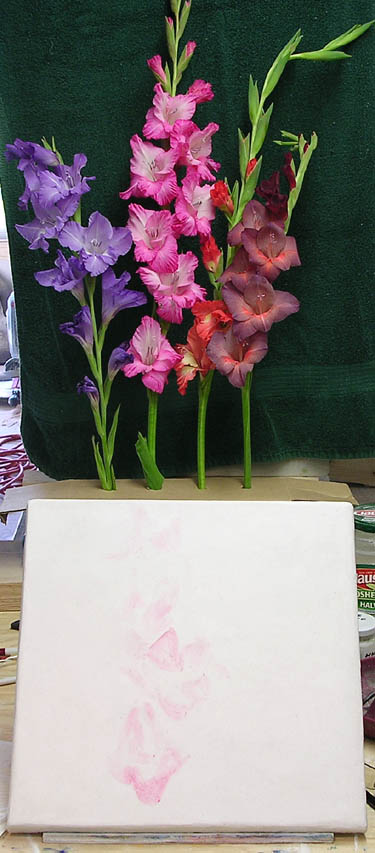
 I started painting the little tile without any pre-drawing, the pink flowers set my size and scale. From there I could lay out the rest of the fresco.
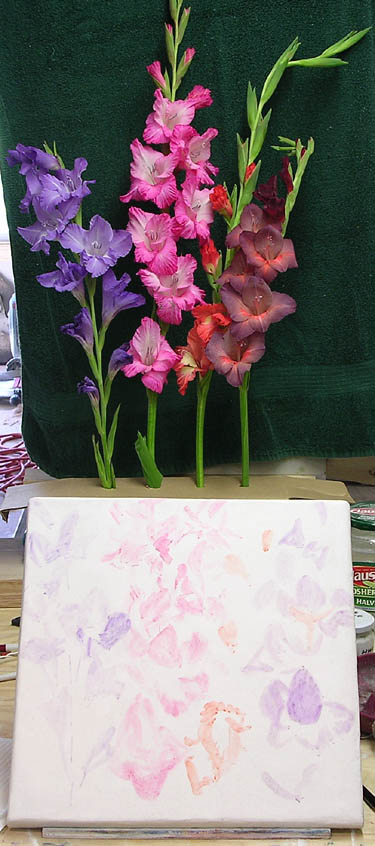 Shortly after laying out the painting I started the background, and continued until it was finished.
 |
|
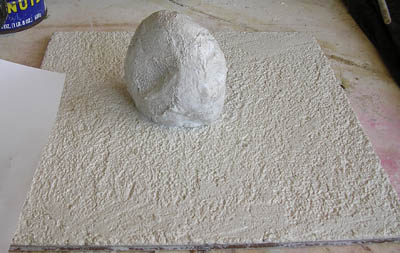
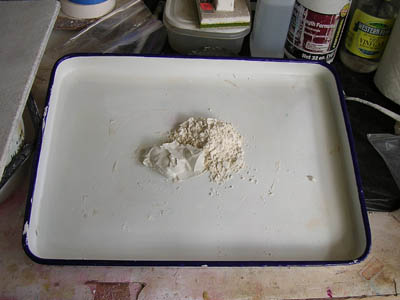
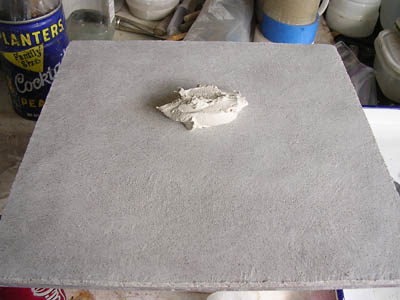
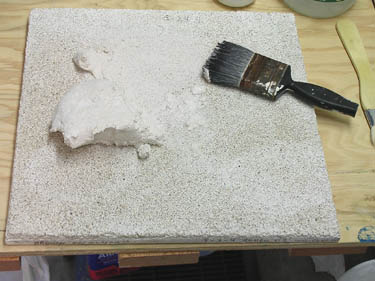
2:42 Here is the clump of 1:1 small sand and lime. This is the amount spread smoothly on top of a 1:1 rough sand and lime mortar that has been drying for 4 months. It's very hard I'm happy to say.
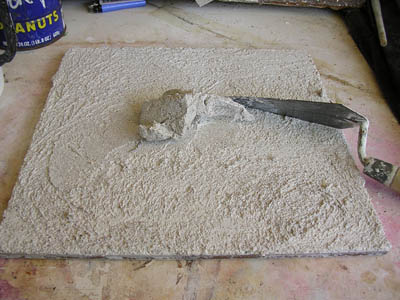
2:48 I rubbed this clump into the rough then spread it smooth and thin. All the extra lime was removed from the surface.
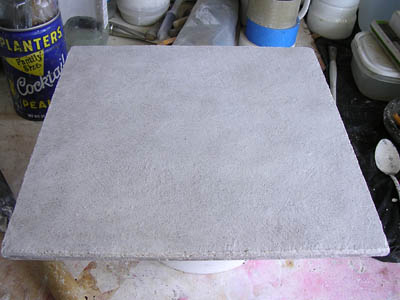
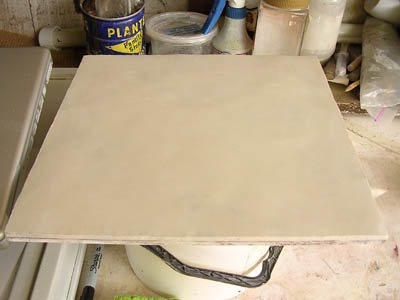
4:27 Finish intonaco, Senopia was out of the white Carrara marble dust, you can see this marble dust has a yellow tone to it. It's very smooth and very thin.
All three layers of mortar total only 1/8 inch in thickness, the base layer is the thickest. 7:25 Start painting. Lay out the pigments, brushes, lime water. 7:45 Layout
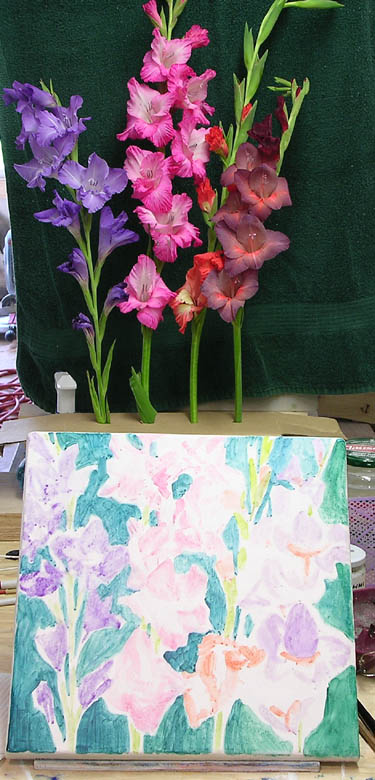
8:10, 75% coverage 9:00 100% coverage 9:45 It's still absorbing immediately, this thin layer of marble dust and lime is very nice. Maybe I'm finished, I'm taking a 15 minute break. 10:20 Finished and it's still absorbing immediately. I used titanium white, permanent red PR170 F3RK-70, quinacridone magenta PR202, cobalt blue light, Phthalocyanine blue PB15.6, bismuth yellow PY184 and viridian PG18. The cobalt blue light and PB15.6 made a good ultramarine blue hue. On my last pigment test four months ago, testing Sinopia's ultramarine blue on lime faded. That means there is no good useable ultramarine blue for fresco, sad to say. Giveing it one more chance I am doing the full test again. Sept 5, Two days later, I held the Blue and Red, Flowers fresco under running water and rubbed my hands over it to loosen any surface pigment. 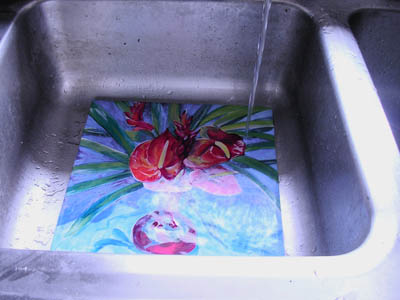
 I was a little worried because before wetting it as I could get color by using a wet a Q-tip. I feel alright now, all the color still on the fresco is locked in and it looks the same. 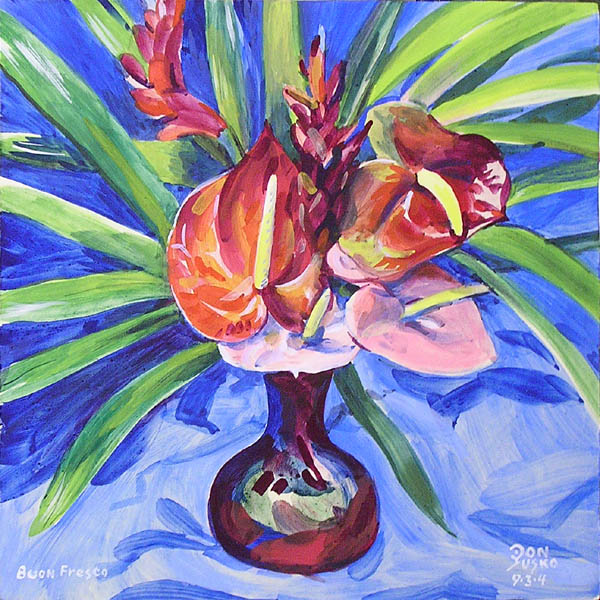
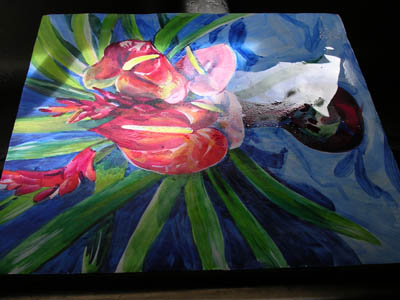
Here is the fresco before and after being washed and scrubbed with my hand. 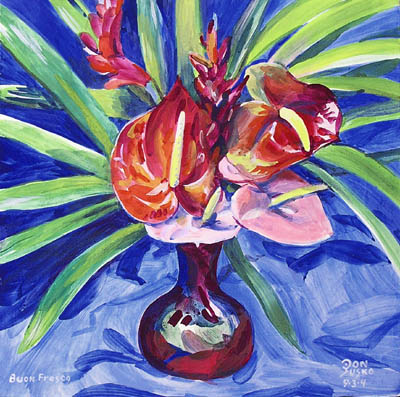
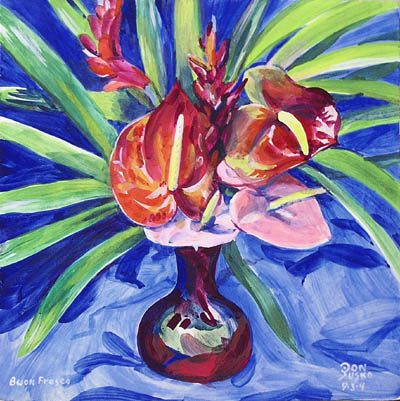 The only difference between the two is some small cracks I hadn't noticed when it was dry. Some washed off blue bleed into the cracks. There are no other cracks in the fresco. I'm going to try the next one with the marble dust intonaco thin enough to put on with a brush. I wish Sinopia had some marble meal, which is a little courser than dust. 
 |
NEXT FRESCO PAGE #37, Fresco Paintings, pg7, Odd Fruits, Yellow Lilies, Brass Urn
PREVIOUS FRESCO PAGE #35, Fresco Paintings pg5, Aureola Cherry, Waldorf School Photo